How To: front brakes for an early bike
I don’t like to modify my bikes from the maker’s original designs, but decided to temporarily put a front brake on the Premier for the Cannonball. This was not an easy decision for me, as I really enjoy the challenge of riding bikes the way that they were built, warts and all. Modified bikes are neat in many ways: aesthetically, performance, individuality, etc. But I like to do my miles with early technology, even if it is crude, slow and the same as all the others.
Yeah, there will be some traffic on the Cannonball, probably more than I see when riding in San Francisco. School busses, delivery trucks, etc. Plus all the Cannnonball guys with their bikes (some are new riders of veteran iron and some are old hands) and all the chase trucks… So I fitted a ‘modern’ brake. But I did get one that looks much like the 1920’s brakes, no double throwdown hydraulic discs for me.
The original stirrup brakes were not very good on a period bicycle, and essentially worthless on a motorbicycle. The first step in this project was to find a decent wheel with a half-width drum brake from a 1970’s Honda dirtbike. (thanks to Chris Quinn at Wheelworks!) The brake arm and speedo unit were discarded, and the bracket to attach to the front forks was machined off. This wheel uses a 21” aluminum rim, and I’ve fitted an Avon Speedmaster tire from Scuderia West. It will be simple to find a new one if this wears out on the Cannonball, but it should last the distance without needing to be replaced. The correct 26 x 2.5” Dunlop beaded edge (clincher) tires are unobtainable in the USA, and cost a few hundred $ with shipping from England…

It is tough to see here, but a lot of aluminum was milled off the brake plate, to make the wheel narrow enough to fit between the Druid forks. A new brake steady was machined and pinned onto the plate just behind the rear fork tube.

A bracket to mount the top end of the brake cable:

Making a new bolt from Whitworth hex bar stock and also a cable adjuster:


A new clevis and washer lathe turned from bearing bronze, a split pin and a brake arm from some unknown old 70’s bike.

Turning the brakes on the lathe to make the shoe material nice and concentric, and sized to fit the drum.

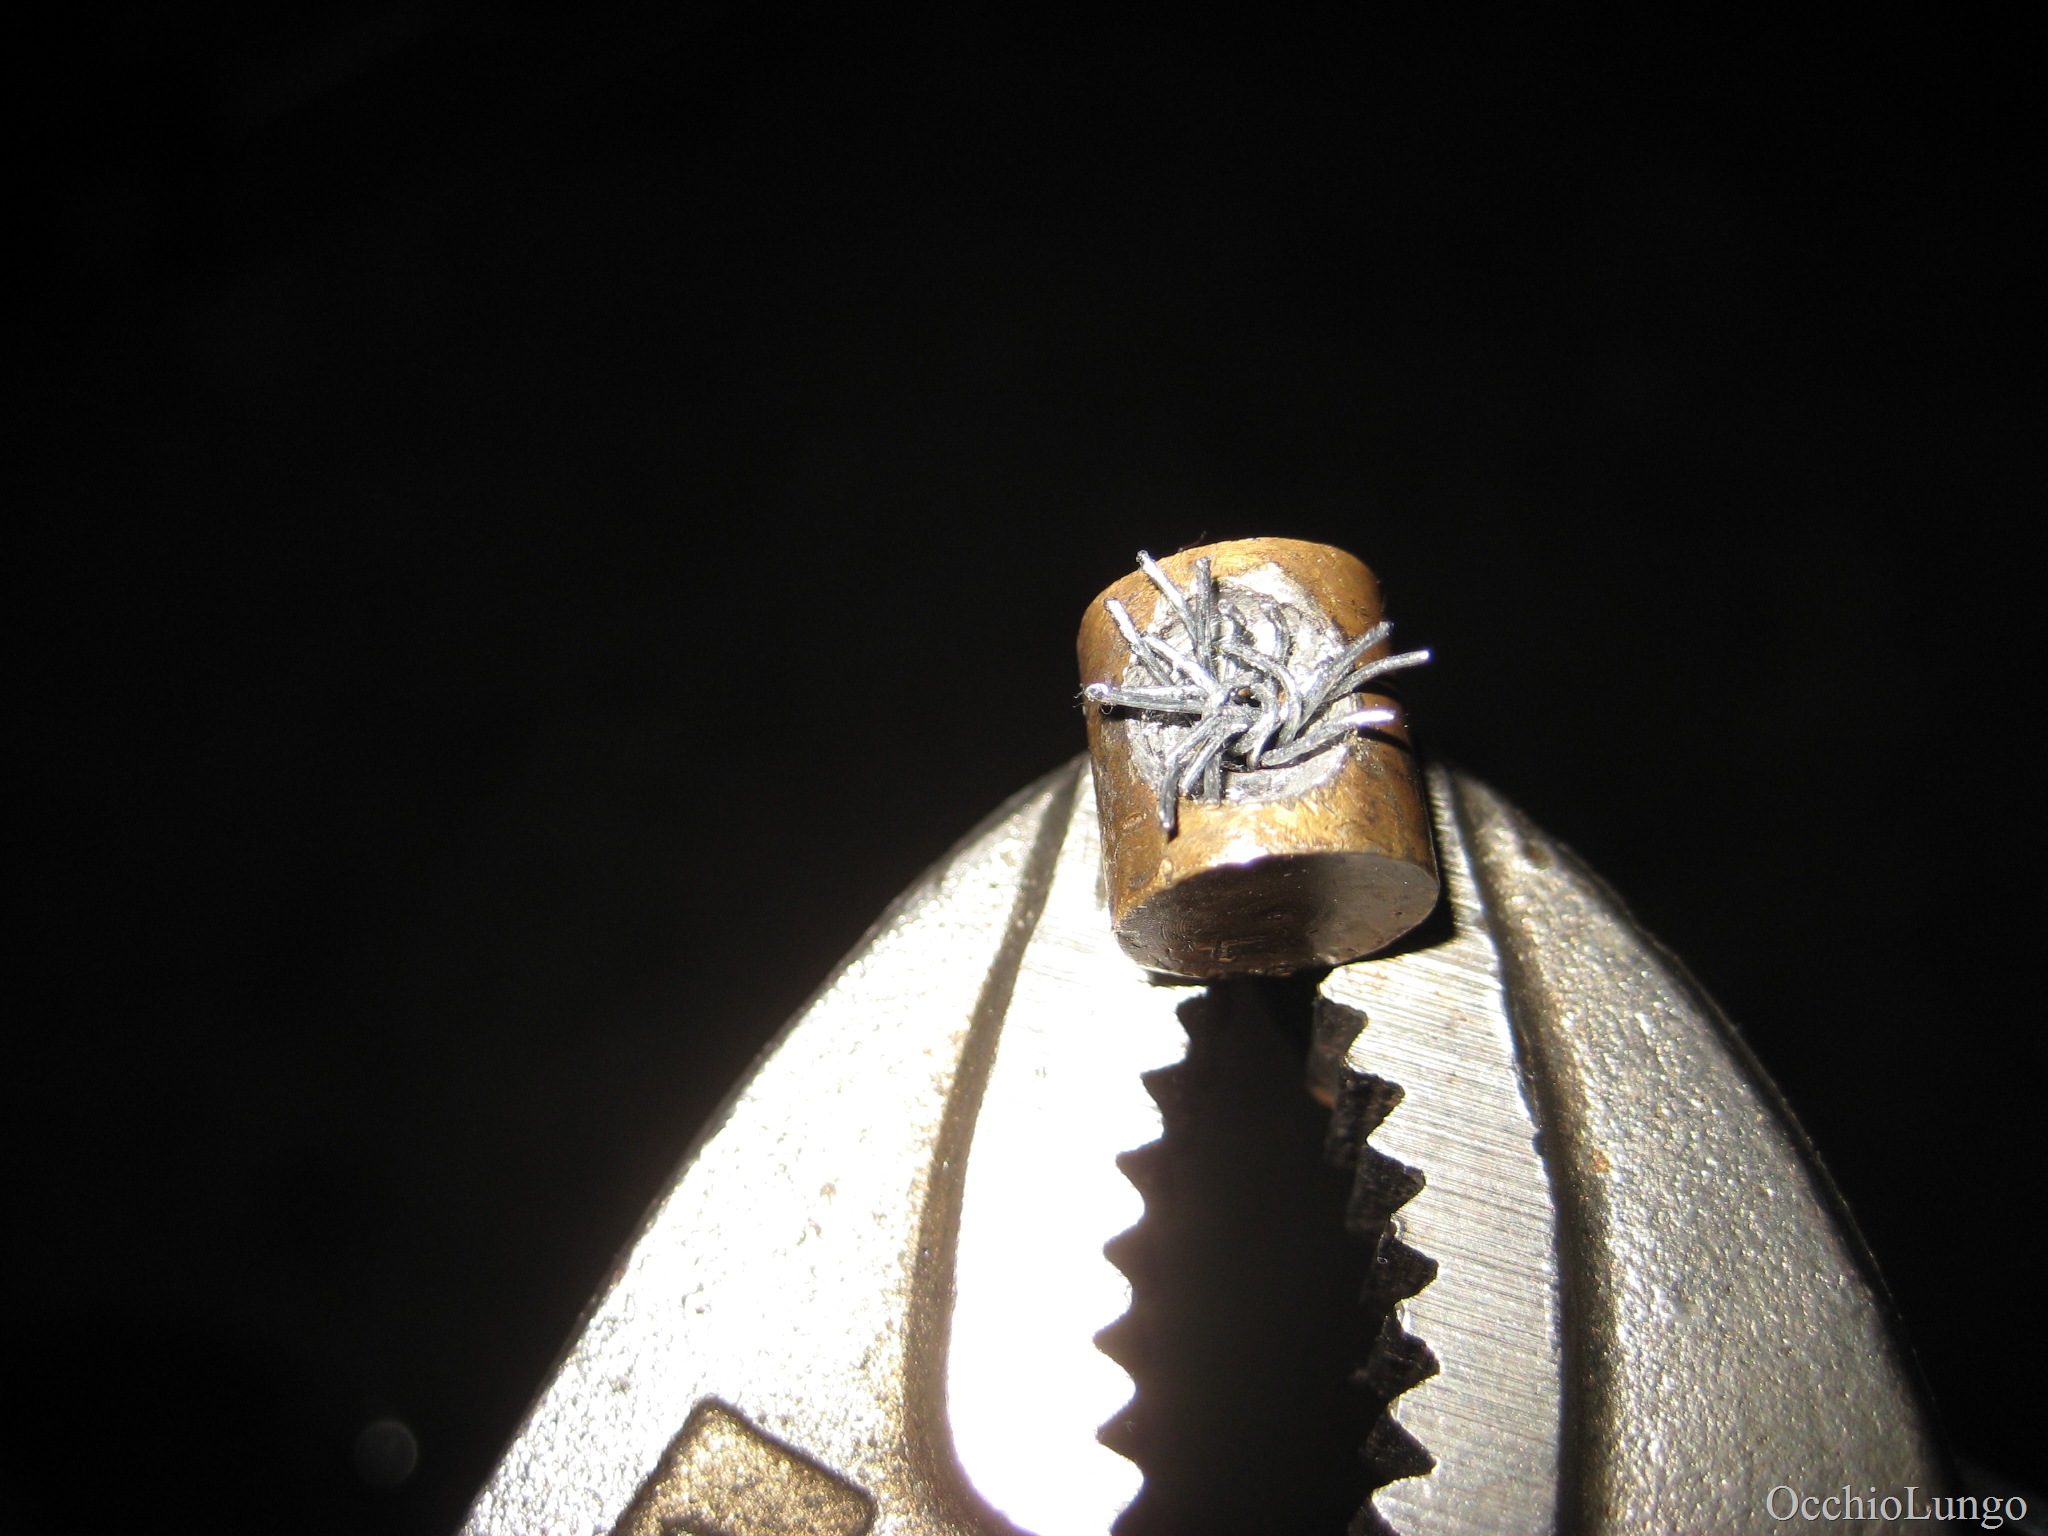
Standard cable soldering procedures:

Some of the fabricated parts with black paint from the rattle can. The machining on the brake plate needed to clear the Druids can be seen in this photo. Since the brake plate is rotated compared to its original layout on a Honda, I cut a new slot at the bottom for rain water to get out. Not shown are the two days spent cutting the axle, bearing spacers, brake steady, cable adjuster bits and test fitting it all together 15 times.

Yeah, it was a pain to do all this work, and hopefully I won’t even need the brake very much. (Brakes Only Slow You Down!) But it is good to have decent brakes while riding in new locations. All the old Premier wheel and brake parts will go back on easily when I get back home. No changes to the old parts, other than a few scratches to the paint.
Ready for the rally.


As always… I enjoy these posts so much. Best thing on the web right now.
Smart to put on that brake… I hear you.. and agree with you about keeping their warts… but for what you are doing, a temp swap out is THE right way to go. You will enjoy yourself more, and be safer in the process.
Have fun on the cannonball! Wish I was there!
Great article – have fun on the Cannonball!